


Photo by Aron Visuals on Unsplash
Simple WebSocket Calls in Laravel & Vanilla JS using Ably and Laravel Echo


Hi there,
In this article, we will explore how to set up WebSocket calls between Laravel and a Vanilla JS application (as the client) using Ably and the Laravel Echo package.
The use cases for WebSocket communication differ. In some cases, it may be used for real-time notifications and real-time updates, in other cases, it may be used for a chat application.
For the purposes of this article, we want to walk through how you can get up and running with Websockets in Laravel and listen for those events on the client side with a Vanilla JS app.
Okay, let's dive in!
Your Ably Account
First, you need to create an account on ably. After creating an account, you should see the Create a new app button and you can give your app any name. The name here has nothing to do with the name of the actual event, it is just an identifier for the app.
In my case, I have created an app, you should see something like this.
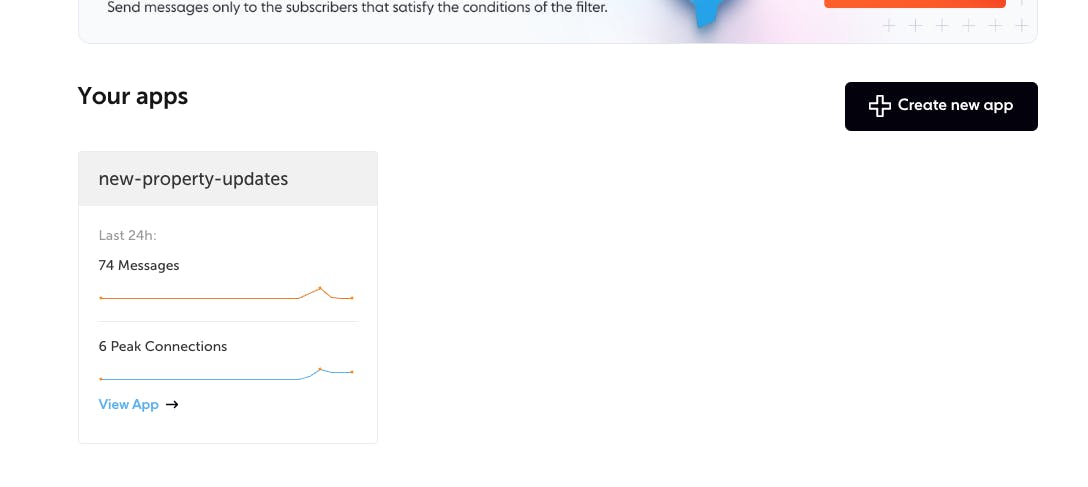
You can then click on the app and get to the Api keys tab to get your credentials.
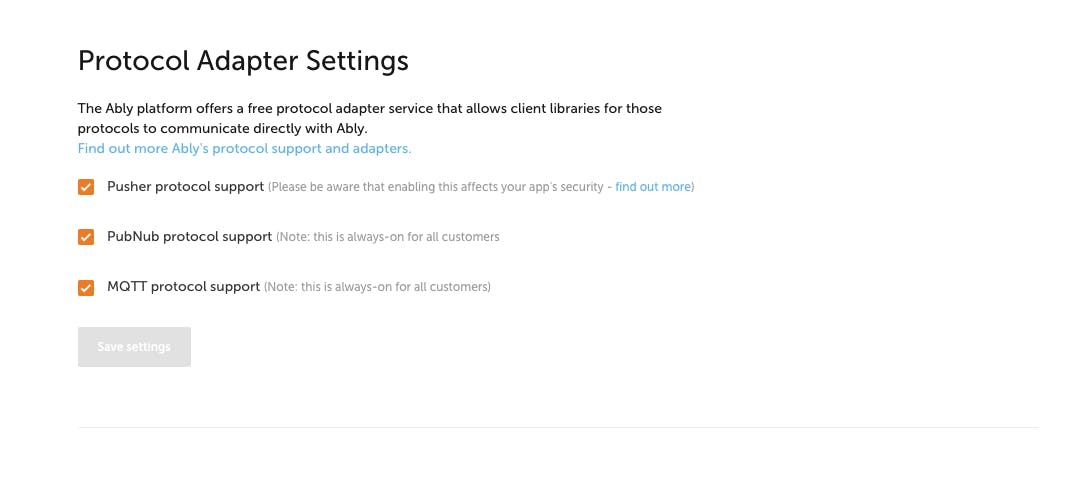
Next, you should go to the settings tab to update the Protocol adapter settings . Make sure, the Pusher protocol support is checked.
The Laravel Backend
This article assumes that we already have a Laravel application ready and we just need to integrate WebSocket comms. If not, you can visit the Laravel documentation to learn how to set up a Laravel project.
If you need an application to play with you can clone the GitHub repository that I'll be using for the explanations here.
https://github.com/IDTitanium/property-api
Configuration
You need to install the Ably SDK on your Laravel project, using the command
composer require ably/ably-php
Next, you need to set the Ably private key in your Environment variable, on development, that would be your .env file.
You also, need to update your BROADCAST_DRIVER to ably
BROADCAST_DRIVER=ably
...
ABLY_KEY=Gm3wTg.lA:8T_LDPJzw_pDZKSk9QypSM (This is private
you got key from the ably dashboard)
IMPORTANT: if your project's Laravel version is lesser than Laravel 9.x or you recently upgraded from a version lesser than 9.x, you need to include this in your broadcasting.php file
//broadcasting.php
...
'ably' => [
      'driver' => 'ably',
      'key' => env('ABLY_KEY'),
 ],
...
Next, we need to create the Event we want to trigger when there is an update we need to push to the client.
Using the property-api backend I shared earlier, we want to send new updates to the client whenever a new property is added.
The Laravel Event
So let's create the event. We'll call it NewPropertyUpdateEvent . And we'll make sure it implements the ShouldBroadcast interface.
Like this,
<?php

namespace App\Events;

use Illuminate\Broadcasting\Channel;
use Illuminate\Broadcasting\InteractsWithSockets;
use Illuminate\Broadcasting\PresenceChannel;
use Illuminate\Broadcasting\PrivateChannel;
use Illuminate\Contracts\Broadcasting\ShouldBroadcast;
use Illuminate\Foundation\Events\Dispatchable;
use Illuminate\Queue\SerializesModels;

class NewPropertyUpdateEvent implements ShouldBroadcast
{
    use Dispatchable, InteractsWithSockets, SerializesModels;

    /**
     * Create a new event instance.
     *
     * @return void
     */
    public function __construct(public mixed $payload)
    {
        //
    }

    /**
     * Get the channels the event should broadcast on.
     *
     * @return \Illuminate\Broadcasting\Channel|array
     */
    public function broadcastOn()
    {
        return new Channel("property");
    }

    /**
     * The event's broadcast name.
     */
    public function broadcastAs(): string
    {
        return 'property.created';
    }
}
We have defined a $payload property in the class constructor as public and this will be present in the general payload when the listener receives the event. All public properties defined in the event class will be present in the listener payload.
Notice that in the broadcastOn method, we have defined the name of the channel as property and we defined it as an argument of the Channel class (full name: Illuminate\Broadcasting\Channel). This is how you defined the channel name for a public channel. If you want to create a private channel, you should do something like this instead.
use Illuminate\Broadcasting\PrivateChannel;

...
public function broadcastOn() {
        return new PrivateChannel("property.".$this->userId);
}
Appending the user id to the channel makes each user's channel unique, and you can use it to authorize the user listening to the channel, we'll discuss channel authorization later on.
The second thing to notice in the class is the broadcastAs method. This is used to define a custom name for the event. When we get to the client section you'd see how this is useful for listening to the event.
Triggering The Event
Now we can trigger this event in the portion of the code where a new property is stored.
/**
     * Store properties on database
     * @param mixed $requestData
     * @return mixed
     */
    public function storeProperties($requestData) {
        if (isset($requestData['address'])) {
            $requestData = $requestData['address'];
        }
        $property = Property::create(
            [
                'address_line_1' => $requestData['line_1'],
                'address_line_2' => $requestData['line_2'],
                'postcode' => $requestData['postcode']
            ]
        );

        event(new NewPropertyUpdateEvent($property));

        return $property;
    }
Channel Authentication
If you are working with a private channel that requires authentication, you can pass your auth middleware into the Broadcast::routes() call in the BroadcastServiceProvider . So in this case, if we had an auth middleware for the API, we can specify it like this.
<?php

namespace App\Providers;

use Illuminate\Support\Facades\Broadcast;
use Illuminate\Support\ServiceProvider;

class BroadcastServiceProvider extends ServiceProvider
{
    /**
     * Bootstrap any application services.
     *
     * @return void
     */
    public function boot()
    {
        /** Added the auth:api middleware */
        Broadcast::routes(['auth:api']);

        require base_path('routes/channels.php');
    }
}
The sample project used in this article has no authentication for the WebSocket call because it's broadcasting on a public channel, therefore it's open.
Channel Authorization
If you have an application that has users, you may also want to send updates to specific users. To do this, you need to define your event channel as private, and you need to have the channel authorization set up, this is done by adding the channel name and authorization condition to this channels.php file.
As an example, if we had to do that for our sample API, we could do something like this.
<?php

use Illuminate\Support\Facades\Broadcast;

/*
|--------------------------------------------------------------------------
| Broadcast Channels
|--------------------------------------------------------------------------
|
| Here you may register all of the event broadcasting channels that your
| application supports. The given channel authorization callbacks are
| used to check if an authenticated user can listen to the channel.
|
*/

Broadcast::channel('property.{userId}', function ($user, $userId) {
    return (int) $user->id === (int) $id;
});
The $user object in the callback function above is based on the auth middleware specified in the BroadcastServiceProvider . And $userId is retrieved from the channel definition like a path parameter.
This concludes the work required on the backend. Let's move to the frontend.
The Vanilla JS Frontend
We will create a simple html project and bundle the js assets with Webpack.
Our directory structure will look like this,
/dist
/src
    index.html
    index.js
PS: this folder structure is influenced by Webpack. After building the js, it will store it in the dist folder. And it will by default look for the index.js file in the src folder.
After creating the files and folders, we can then run npm init to set up our package.json and follow the prompt.
After which we can install the npm packages below.
npm install --save-dev laravel-echo pusher-js
Next, we can add the content of the index.html file.
<!--Index.html-->
<!DOCTYPE html>

<html>
    <head>
        <!--to be gotten after js is bundled-->
        <script src="../dist/main.js"></script>
    </head>

    <body>
        <h1>Broadcast receiver working</h1>
        <h2>Listening for property added...</h2>
        <div id="property"></div>
    </body>


</html>
The main.js added to the html header will be generated by Webpack after we bundled the assets.
And our index.js will look like this,
//index.js
import Echo from 'laravel-echo';
import Pusher from 'pusher-js';

window.Pusher = Pusher;

window.Echo = new Echo({
    broadcaster: 'pusher',
    key: 'GmT.2A',
    wsHost: 'realtime-pusher.ably.io',
    wsPort: 443,
    disableStats: true,
    encrypted: true,
    cluster: 'eu'
});

window.Echo.channel('property')
            .listen('.property.created', (e) => {
            displayItemsOnTheUI(e)
            console.log("new event", e)
});

function displayItemsOnTheUI(e) {
      let ul = document.createElement('ul')
      for (const key in e.payload) {
           let li = document.createElement('li')
           li.innerHTML = `${key} : ${e.payload[key]}`
           ul.appendChild(li)
           console.log(key, e.payload[key])
       }
      document.getElementById("property").appendChild(ul)
}
The key in this object, is the public key you got from the pusher dashboard. The public key is the portion of the private key before the : sign.
window.Echo = new Echo({
    broadcaster: 'pusher',
    key: 'GmT.2A',
    wsHost: 'realtime-pusher.ably.io',
    wsPort: 443,
    disableStats: true,
    encrypted: true,
    cluster: 'eu'
});
If you are working with a private channel, you need to include some extra properties like authEnpoint and if your authentication requires a bearer token, you can include these configs.
window.Echo = new Echo({
    ...
    authEndpoint: `your-api-host/broadcasting/auth`,
    auth: {
        headers: {
            Authorization: `Bearer ${token}`
        }
    }
});
Also, notice the listener code below; we have added the channel as property which is the name we gave our channel in the broadcastOn method in the Laravel event, and the .listen method is configured with the name of the event property.created which is what we defined in the broadcastAs method in the Laravel event class.
Notice that the name in the .listen method is prefixed with a dot . , this is important to include for all custom event names.
window.Echo.channel('property')
            .listen('.property.created', (e) => {
            displayItemsOnTheUI(e)
            console.log("new event", e)
});
Next, we can run npx webpack , this may require you to install the Webpack CLI, you can simply run npm install --save-dev webpack-cli and run npx webpack again.
You should now have the main.js file in your dist folder.
The complete frontend code can be found here https://github.com/IDTitanium/broadcast-receiver
Aaaand we are ready to test!
Now, on the Laravel side, you need to ensure your Queue is running. Because the event will get queued, unless you've set your queue connection to sync.
When you make the API call like this,
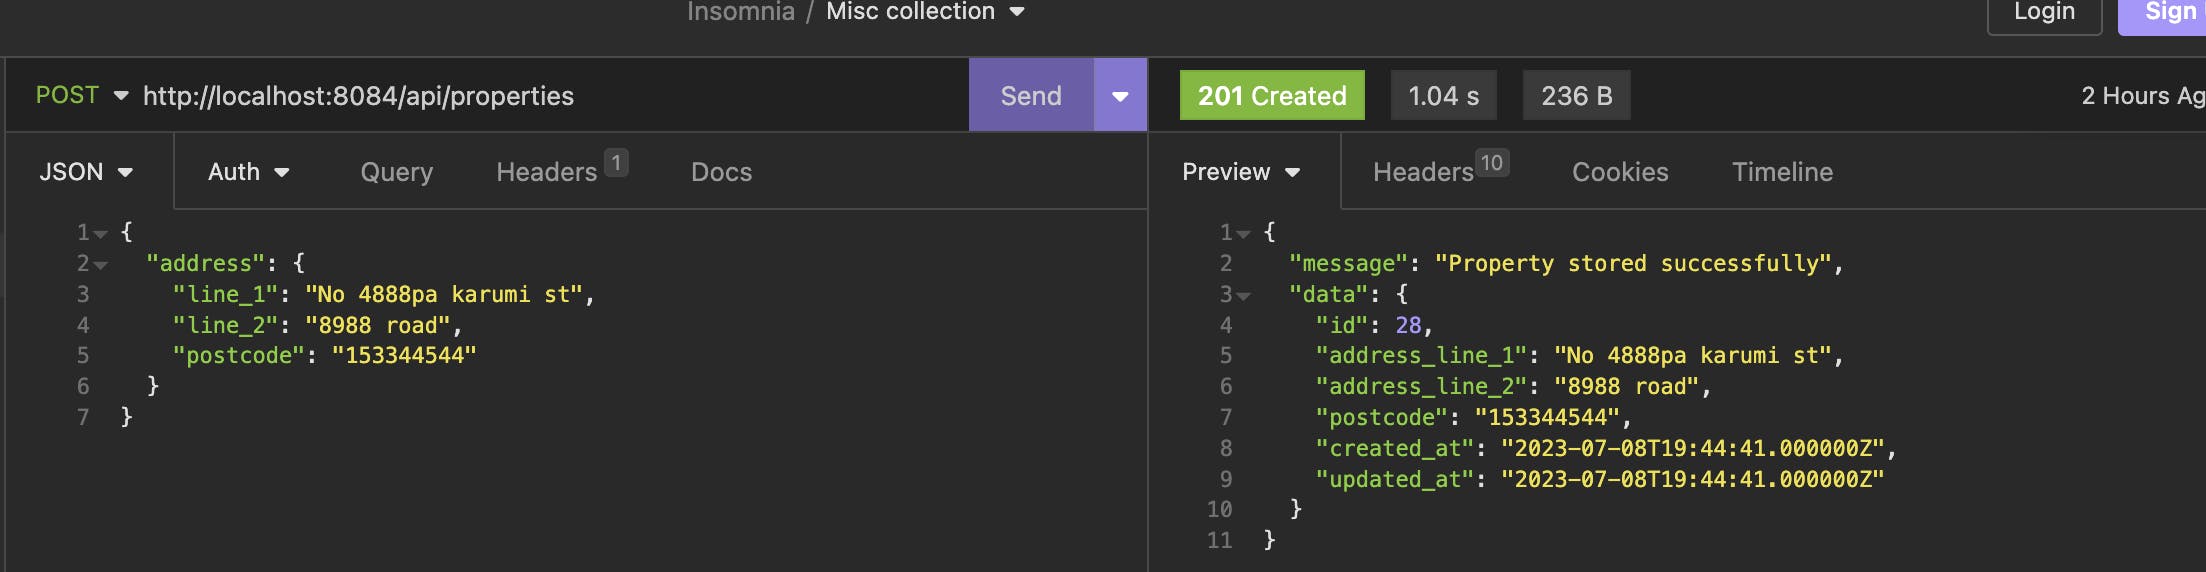
You should immediately get the entries on the client side, like this.

Conclusion
You can extend this to any part of your app that requires real-time updates.
If you have issues setting this up, you can leave a comment here, and I'll do my best to help.
O dabo.